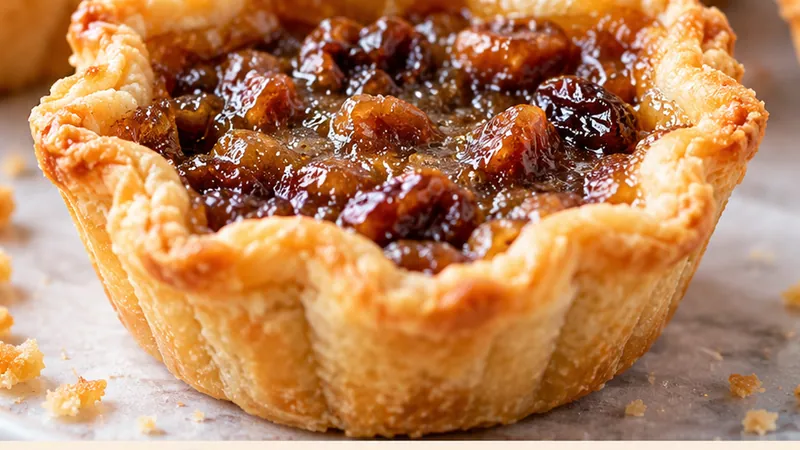
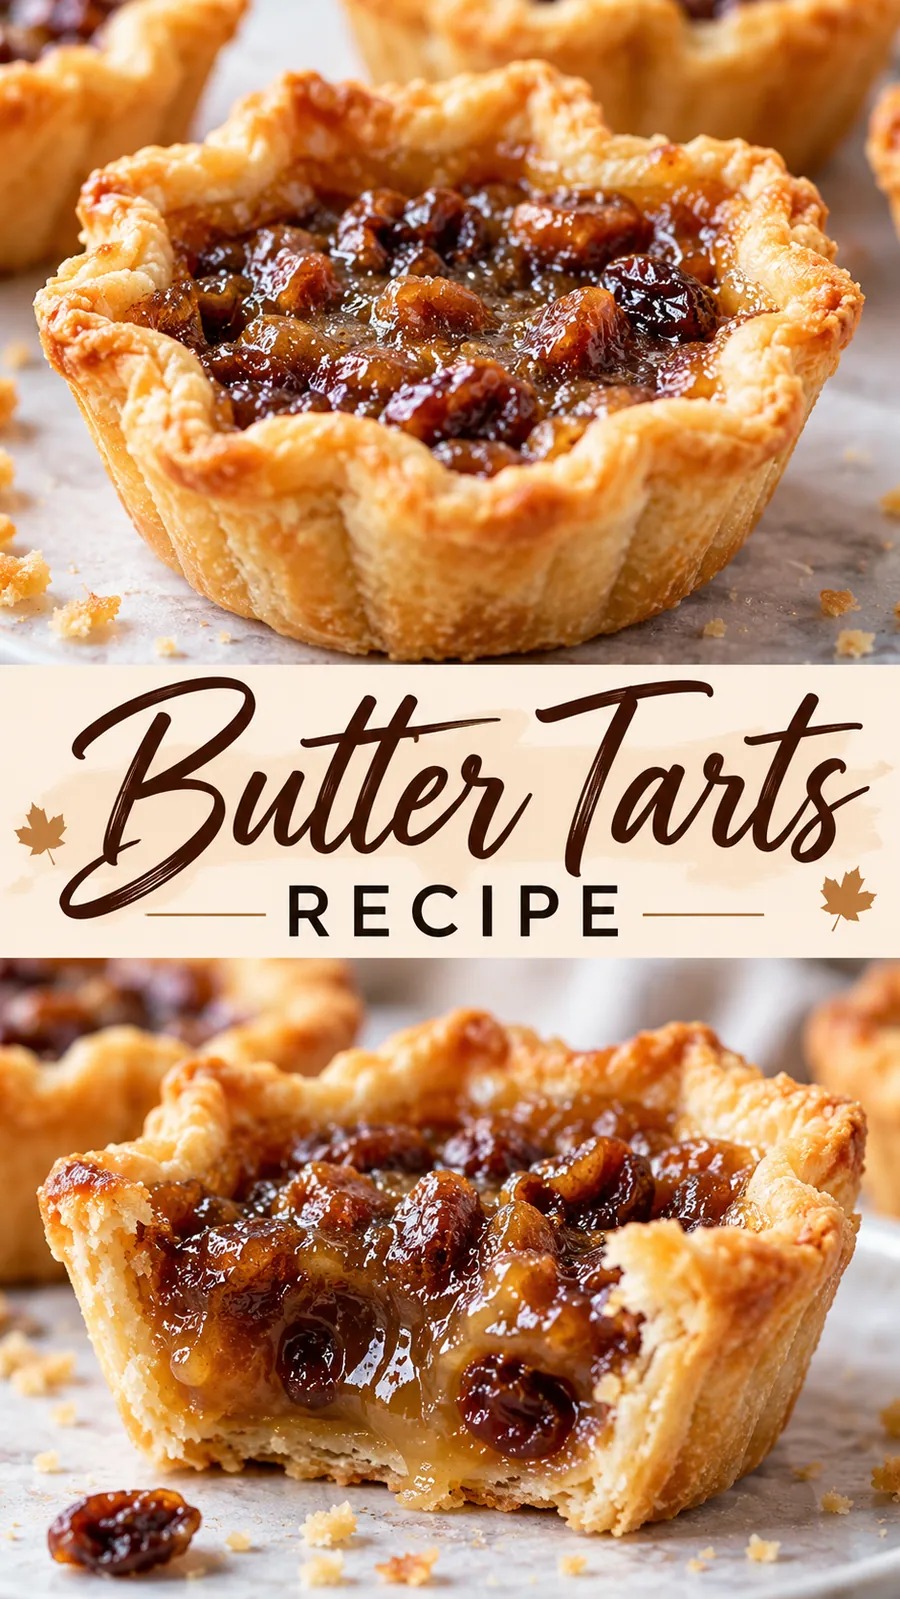
Imagine a tiny golden shell cradling a silky, rich filling that bubbles at the edges, smelling of toasted nuts and brown sugar as it bakes. Each bite is a tender crunch followed by a luscious melt in your mouth sweetness that feels deeply comforting. These butter tarts are the kind of treat you linger over slowly, savoring every last bite.
You might bake them for family gatherings, holiday celebrations, or just a cozy Sunday afternoon when you want to fill your home with a warm, buttery aroma. They’re the perfect balance between simple and indulgent, requiring only a handful of ingredients while delivering big flavor. Plus, they freeze beautifully, so you can always have a stash of ready made goodness on hand.
 Save
SaveI remember my grandmother rolling out the dough with a flour dusted hand and humming in the kitchen, and every bite of these tarts takes me right back to her sunlit table. Making them now is my way of keeping that tradition alive, and I love sharing the tray with friends, neighbors, and anyone who can resist the glossy, caramel like filling.
Butter Tarts Recipe
Ingredients
Pastry
Filling
Instructions
- Mix the dry ingredients
In a medium bowl, whisk together the flour, sugar, and salt until evenly combined.
- Cut in the cold butter
Add the cold, cubed butter and use a pastry cutter or your fingertips to work it into the flour until the mixture resembles coarse crumbs with pea sized pieces.
- Combine wet ingredients
In a separate small bowl, beat the egg, then mix in the milk or cream until well blended.
- Form the dough
Pour the wet mixture into the dry ingredients and stir just until the dough comes together. Gather it into a ball, wrap in plastic wrap, and chill for at least 20 minutes to help it roll out cleanly.
- Preheat oven and prep pan
Preheat your oven to 350 degrees Fahrenheit. Line a standard 18 cup muffin tin with paper cupcake liners or lightly grease the cups.
- Roll and cut dough circles
On a floured surface, roll the dough to about 1/8 inch thickness. Use a round cookie cutter or small glass to cut out circles that fit into your muffin cups.
- Press dough into liners
Place one dough circle into each liner and gently press it into the bottom and slightly up the sides, creating an even, thin crust.
- Prepare the filling
In a medium bowl, beat the softened butter and brown sugar until creamy, then whisk in the corn syrup, egg, vanilla, and salt until smooth. Stir in the toasted nuts.
- Fill and bake
Spoon a heaping tablespoon of filling into each crust, mounding slightly in the center. Bake for 18 to 20 minutes, until the edges are set and the centers look glossy and just beginning to puff.
- Cool fully before serving
Let the tarts cool in the tin for 10 minutes, then transfer to a wire rack to cool completely so the filling firms up to that perfect gooey texture.
Substitutions and variations
- You can use salted butter and skip adding extra salt if preferred, just taste before baking.
- Swap corn syrup with golden maple syrup for a slightly lighter flavor and equally lovely texture.
- For a gluten free version, use a gluten free all purpose flour blend with xanthan gum or add 1/4 teaspoon xanthan gum.
- If you do not have nuts, use sunflower seeds or pumpkin seeds for a nut free but still tasty filling.
- Make them dairy free by using plant based butter and a non dairy milk in the crust.
Chloe's tips
- Chill the dough if it feels soft or sticky; this prevents spreading and keeps the crust crisp.
- Toast the nuts lightly in a dry pan or the oven for richer flavor and a satisfying crunch.
- For extra shine on the filling, gently press a tiny pinch of coarse sugar on top before baking.
- If your tarts puff too much, tap the muffin tin gently on the counter before baking to release air pockets.
How to store it
- Store fully cooled tarts in an airtight container at room temperature for up to 3 days.
- Freeze unbaked tarts on a tray, then transfer to a bag for up to 3 months; bake from frozen, adding a few minutes to the bake time.
Serving suggestions
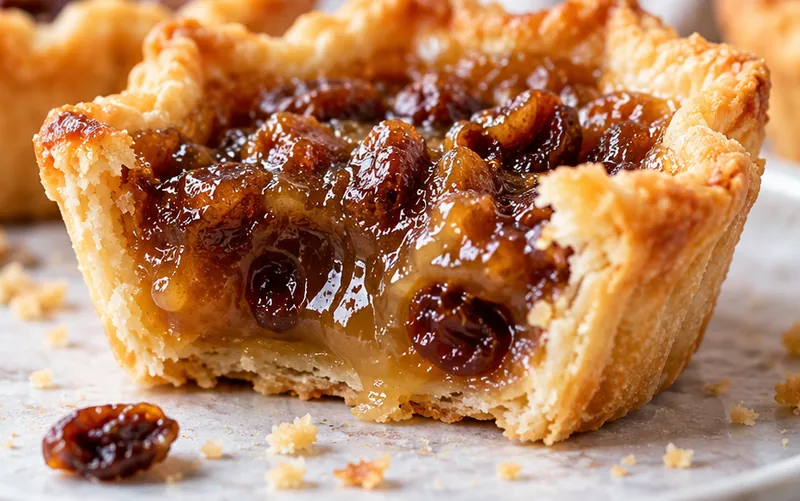
Serve these little pockets of bliss warm or at room temperature, perhaps with a scoop of vanilla ice cream or a drizzle of light maple syrup.
- Place one or two tarts on a small plate
- Add a dollop of whipped cream or a scoop of vanilla ice cream
- Drizzle with a little extra maple syrup or caramel sauce
- Pair with a strong black coffee or a cup of hot tea
Frequently asked questions
Why is my filling runny or under set?
Underbaking is the most common cause; bake until the centers look set and glossy, and cool completely so the corn syrup and egg firm up. If your tart filling seems very loose after cooling, you can gently reheat the remaining filling on the stovetop over low heat, stirring, until it thickens slightly before refilling.
Can I make the dough and filling ahead of time?
Yes, you can chill the dough for up to 3 days and store the filling in the fridge for up to 2 days. Assemble and bake just before serving for the best texture.
How can I make these gluten free?
Use a gluten free all purpose flour blend that includes xanthan gum, or add 1/4 teaspoon xanthan gum to the dry ingredients, and proceed with the recipe as written.
What if I do not have corn syrup
Golden maple syrup works beautifully as a substitute and adds a lovely subtle note, or you can use a bit more packed brown sugar for a richer, denser filling.
Let's get cooking!
These butter tarts capture the soul of classic Canadian baking in a tiny, perfect bite, and you will love how quickly they come together and how satisfying they are to share. Grab your muffin tin, invite a friend, and enjoy the simple joy of homemade butter tarts today.