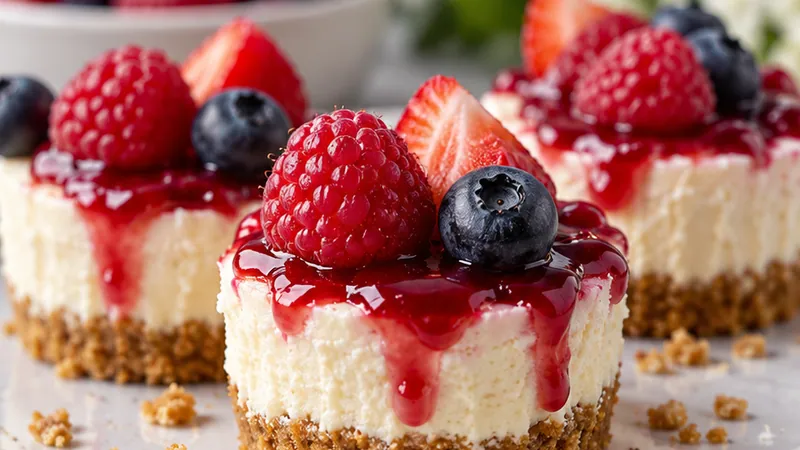
Picture tiny spoonfuls of cloud-soft cheesecake resting in a buttery graham cracker shell, their gentle sweetness and cool creaminess melting on your tongue. Each bite releases a toasty, crumbly aroma that makes the whole kitchen feel cozy and indulgent.
These cheesecake bites are perfect for gatherings, weeknight treats, or when you crave something sweet without baking a full pan. They come together fast, bake briefly, and chill into perfect portion-sized desserts you can grab and share.
 Save
SaveI first made these for a small dinner party, and watching friends close their eyes after the first bite reminded me how simple desserts can shine. You will love how easy they are to prep, how pretty they look, and how reliably they turn out tender and flavorful.
Cheesecake Bites Recipe
Ingredients
Crust
Filling
Topping
Instructions
- Prep the mini muffin pan
Preheat your oven to 325 degrees Fahrenheit. Line a 12-cup mini muffin pan with small paper liners or grease the cups well so the bites release easily after baking.
- Mix the crust crumbs
In a medium bowl, stir together the graham cracker crumbs and sugar until evenly combined. Pour in the melted butter and toss with a fork until the crumbs look dark and glossy and clump together when pressed.
- Press crust into liners
Using about 1 tablespoon of mixture per cup, press the crumbs firmly across the bottom and slightly up the sides of each liner. A small measuring cup or your thumb works great for compacting the crust evenly.
- Bake the crusts briefly
Bake for 6 to 7 minutes, until the edges are set and the crusts look slightly toasty. Remove from the oven and let the pan rest while you prepare the filling.
- Beat the filling ingredients
In a large bowl, beat the softened cream cheese, sugar, and vanilla with a hand mixer on medium speed until smooth and free of lumps. Add the egg and flour and mix just until combined, scraping down the sides as needed.
- Fill the crusts
Spoon about 2 tablespoons of filling into each crust, smoothing the tops gently. Try to keep the filling slightly below the rim so it does not overflow while baking.
- Bake the cheesecakes
Bake at 325 degrees Fahrenheit for 12 to 14 minutes, until the centers are softly set and the edges look just golden. Avoid overbaking so the bites stay luxuriously creamy.
- Chill to set
Let the mini cheesecakes cool in the pan for 10 minutes, then transfer them to the refrigerator to chill for at least 2 hours, or until fully firm and easy to handle.
- Whip the topping
In a chilled bowl, beat the heavy cream, sugar, and vanilla with clean beaters until stiff peaks form. Taste and add a little more sugar if you prefer a sweeter finish.
- Assemble and serve
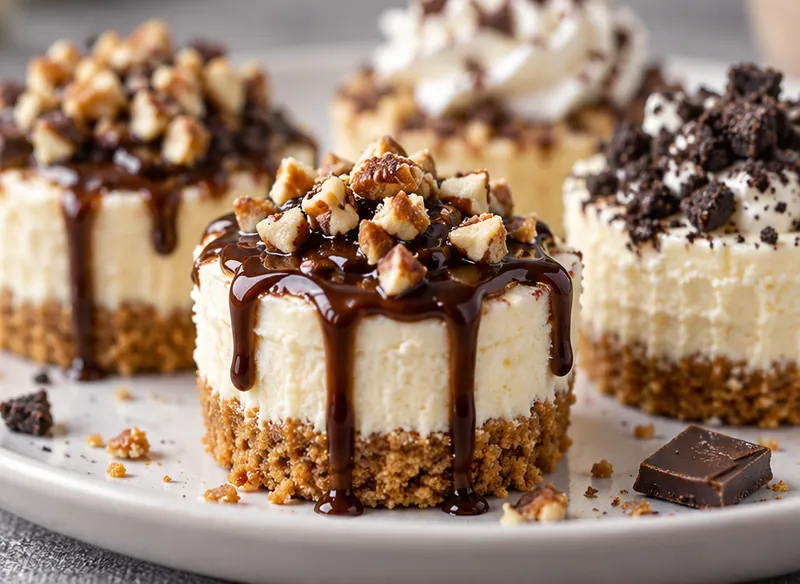
Pipe or spoon a dollop of whipped topping onto each chilled bite. You can also drizzle a little chocolate sauce or sprinkle crushed cookies on top for extra flair before serving.
Substitutions and variations
- Use gluten-free graham crackers or gluten-free cookie crumbs for a gluten-free version.
- Swap in a packet of vanilla sugar for part of the granulated sugar if you want a deeper vanilla aroma.
- Replace the egg with 2 tablespoons of sour cream for a slightly tangier, ultra-soft texture.
- Substitute coconut cream for heavy cream to make a dairy-free whipped topping.
Chloe's tips
- Make sure the cream cheese is truly softened; this prevents lumps and gives the filling a velvety texture.
- Do not skip the chill time; it helps the bites hold their shape and intensifies the flavor.
- Use a small cookie scoop to portion filling for perfectly uniform sizes and even baking.
How to store it
- Store the bites in an airtight container in the refrigerator for up to 3 days.
- Keep the whipped topping separate until serving to maintain its light texture.
Serving suggestions
Serve these petite treats on a pretty platter garnished with berries or a drizzle of chocolate.
- Chill for at least 2 hours before serving for best texture
- Garnish each bite with a small berry or mint leaf
- Pair with a drizzle of raspberry coulis or a sprinkle of crushed cookies
Frequently asked questions
Can I make these ahead of time?
Yes, you can fully assemble and chill the bites up to 24 hours before serving. Keep the whipped topping in the fridge and add it just before you serve.
Why did my cheesecake crack while baking?
Overbaking is the most common cause. Remove the bites when the edges are set but the centers still look slightly jiggly; the heat will carry them through gently as they cool.
Can I freeze unbaked bites?
You can freeze the filled, unbaked bites for up to 1 month. Bake them from frozen, adding a few extra minutes until the centers are set and the edges are golden.
Let's get cooking!
These mini cheesecakes prove that dessert can be simple, satisfying, and totally shareable. Whip up a batch whenever you want a polished, crowd-pleasing treat that feels special without the stress.