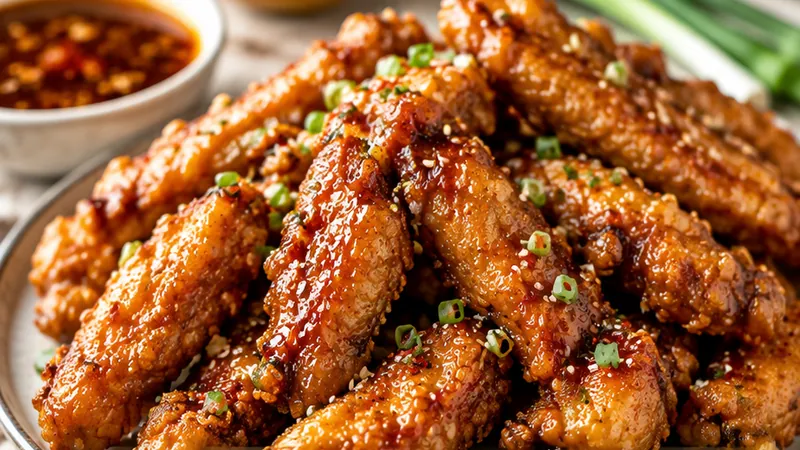
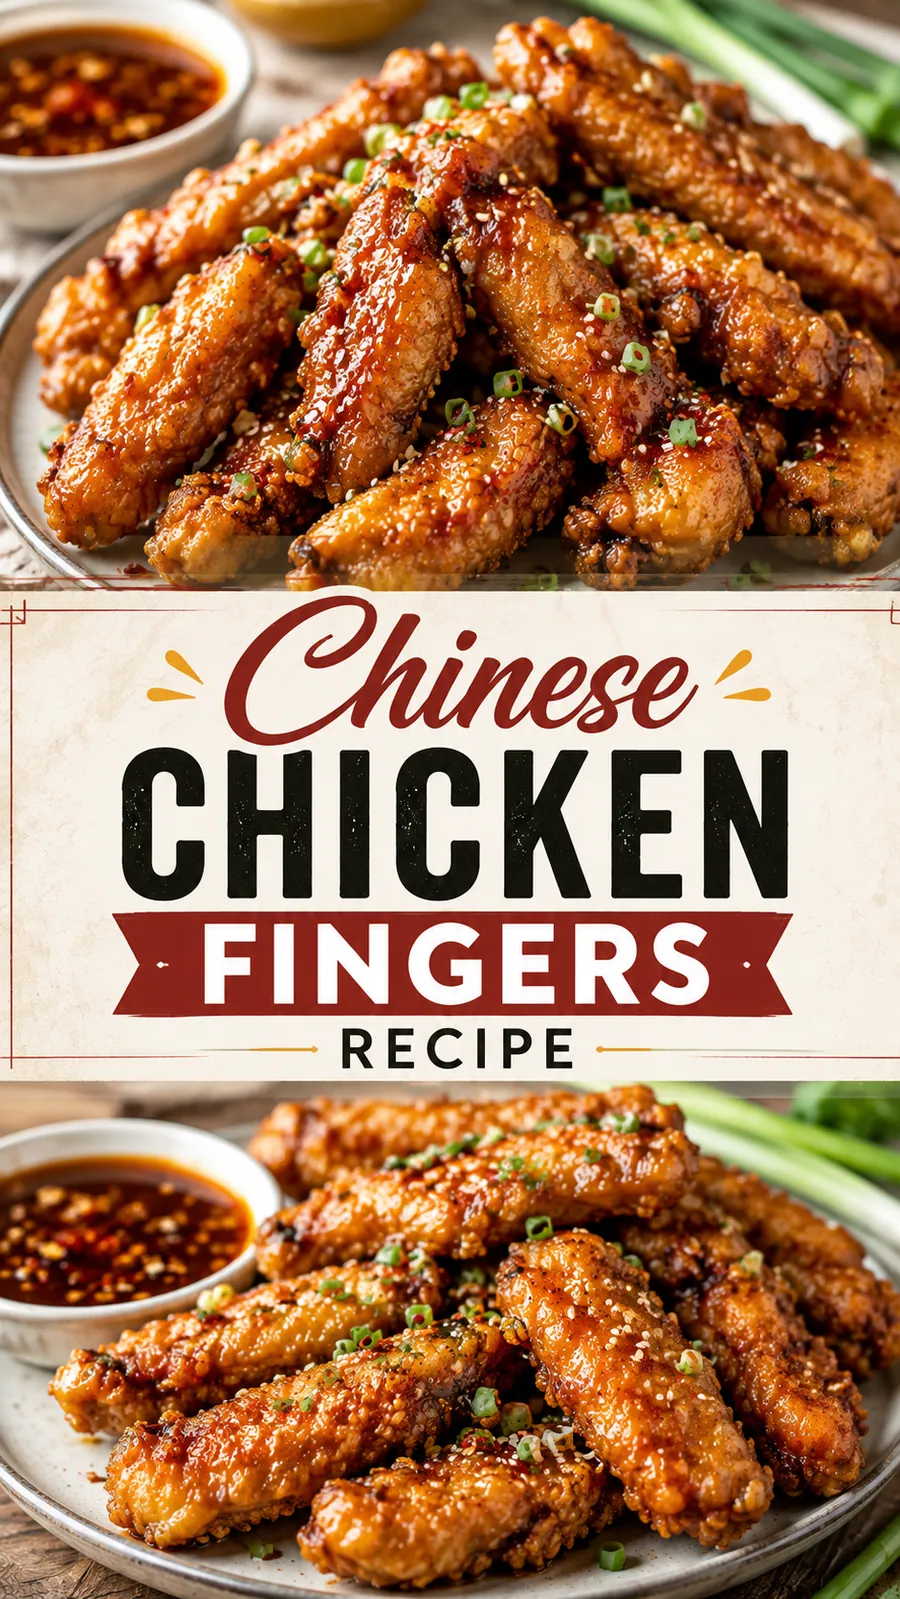
There is something so satisfying about biting into a Chinese chicken finger that is crisp on the outside and tender inside, with a glossy savory sauce clinging to every nook and cranny. The gentle heat from ginger, garlic, and a hint of chili creates a restaurant quality aroma that fills the kitchen and makes everyone at the table hungry.
This recipe is perfect for a simple weeknight dinner when you want something quick yet special, or for a relaxed game day snack that disappears fast. You do not need a deep fryer or a complicated list of tools, just a skillet or baking sheet and a few pantry staples to get that crave worthy texture and flavor.
 Save
SaveI first started making these years ago when I wanted the flavors of my favorite takeout at home without the mystery ingredients. Over time I refined the coating and sauce so they stay bright and sticky without being greasy, and it has become a go to recipe I return to when I need comfort food with a little kick.
Chinese Chicken Fingers Recipe
Ingredients
Chicken and marinade
Coating
Sauce
For frying
To finish and serve
Instructions
- Prep the chicken and marinade
Pat the chicken fingers dry with paper towels, then toss them in a bowl with soy sauce, cornstarch, grated ginger, minced garlic, and black pepper. Cover and let marinate for at least 10 minutes or up to 30 minutes in the fridge.
- Make the batter
In a medium bowl whisk together cornstarch, flour, salt, and pepper. Beat in the egg and water or milk until you get a thick, spreadable batter that barely clings to the back of a spoon.
- Prepare the sauce
In a small bowl or cup, combine soy sauce, oyster sauce, rice vinegar, honey, minced garlic, grated ginger, cornstarch, water, and red pepper flakes if using. Whisk until smooth so there are no lumps of cornstarch.
- Coat the chicken fingers
Drain the marinated chicken and give it a gentle shake off. Working one piece at a time, coat each finger evenly in the batter, letting any excess drip off so the coating is smooth and not clunky.
- Pan fry for crispiness
Heat the vegetable or canola oil in a large nonstick or cast iron skillet over medium heat until shimmering. Lay the battered chicken fingers in a single layer and cook for about 4 to 5 minutes per side, turning gently, until deep golden brown and cooked through.
- Drain and finish with sesame oil
Transfer the cooked fingers to a wire rack set over a baking sheet or a plate lined with paper towels to drain briefly. Drizzle with sesame oil while hot to add fragrance and a subtle nutty note.
- Simmer the sauce
In the same skillet, pour in the prepared sauce and bring to a gentle simmer, stirring for one to two minutes until it thickens and turns glossy. You want a lightly sticky coating that clings to the chicken.
- Toss in sauce and serve
Add the warm chicken fingers to the skillet, turning them to coat evenly in the glossy sauce. Give the pan a quick toss so every bite gets that sweet savory balance.
- Garnish and plate
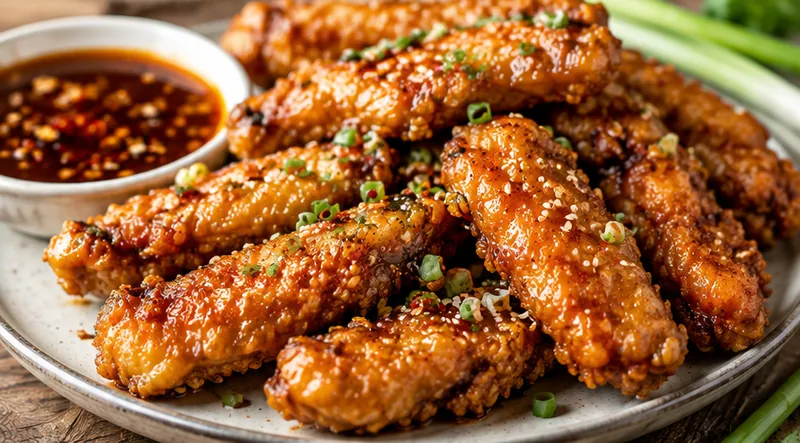
Scatter the chicken fingers onto a serving platter, sprinkle with sesame seeds and sliced green onions, and serve immediately with steamed rice or noodles on the side.
- Keep warm and enjoy
If you are not serving right away, keep the fingers in a low oven so they stay crisp while you finish any other dishes.
Substitutions and variations
- Use chicken breast instead of thigh if you prefer a leaner bite, and slice it slightly thinner to keep it juicy
- Replace oyster sauce with hoisin sauce or a little extra soy sauce mixed with a teaspoon of sugar for a vegetarian version
- Swap red pepper flakes for a teaspoon of sriracha if you want a thicker, garlicky heat
- Use gluten free flour and certified gluten free soy sauce for a gluten free option
- For a lighter version, bake the coated fingers on a wire rack instead of frying
Chloe's tips
- Dry the chicken well before marinating so the coating adheres better and fries up crispier.
- Do not crowd the pan when frying; cook in batches if needed to keep the oil temperature steady.
- Let the sauce simmer just until thickened so it clings to the chicken without becoming too stiff.
- For extra fragrance, add a splash of toasted sesame oil right at the end.
- If you like saucy fingers, add a tablespoon or two of water to the pan and cover briefly so steam helps the sauce cling.
How to store it
- Store leftovers in an airtight container in the fridge for up to 3 days.
- Reheat in a hot skillet or air fryer for a few minutes to restore the crisp coating.
- Keep the sauce separate if you prefer it thicker, and warm gently before tossing with the chicken.
Serving suggestions
Serve these Chinese chicken fingers hot, with plenty of sauce for dipping and simple sides that let the flavors shine.
- Steamed jasmine rice or fluffy egg noodles
- Quick stir fried vegetables like bok choy or snap peas
- A small bowl of vegetable spring rolls for extra crunch
- Cold cucumber salad with rice vinegar and a touch of sugar
Frequently asked questions
Can I bake these instead of frying?
Yes, preheat your oven to 425°F (220°C), place the battered fingers on a wire rack over a baking sheet, spray lightly with oil, and bake for 18 to 22 minutes until golden and crisp, flipping halfway through.
Why is cornstarch used in both the marinade and the batter?
Cornstarch in the marinade helps tenderize and keep the chicken juicy, while cornstarch in the batter gives a light, crisp coating when fried or baked.
How do I know when the chicken is fully cooked?
Cut into the thickest piece to check that the juices run clear and the internal temperature reaches 165°F (74°C). The outside should be deep golden brown and the meat feels firm to the touch.
Can I make the sauce ahead of time?
Absolutely, you can prepare the sauce a day in advance and store it in the fridge. Reheat gently and give it a quick whisk before tossing with the chicken.
Let's get cooking!
With tender chicken coated in a crisp batter and finished in a glossy savory sauce, these Chinese chicken fingers are sure to become a go to favorite in your kitchen. Give them a try tonight and enjoy restaurant quality flavors at home.