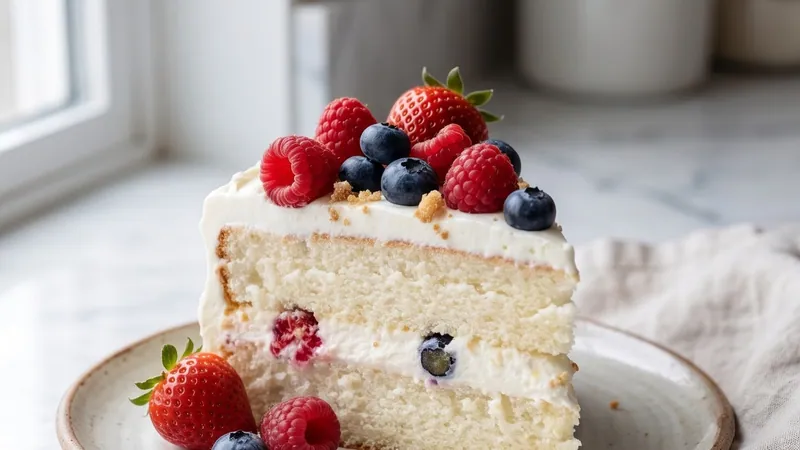
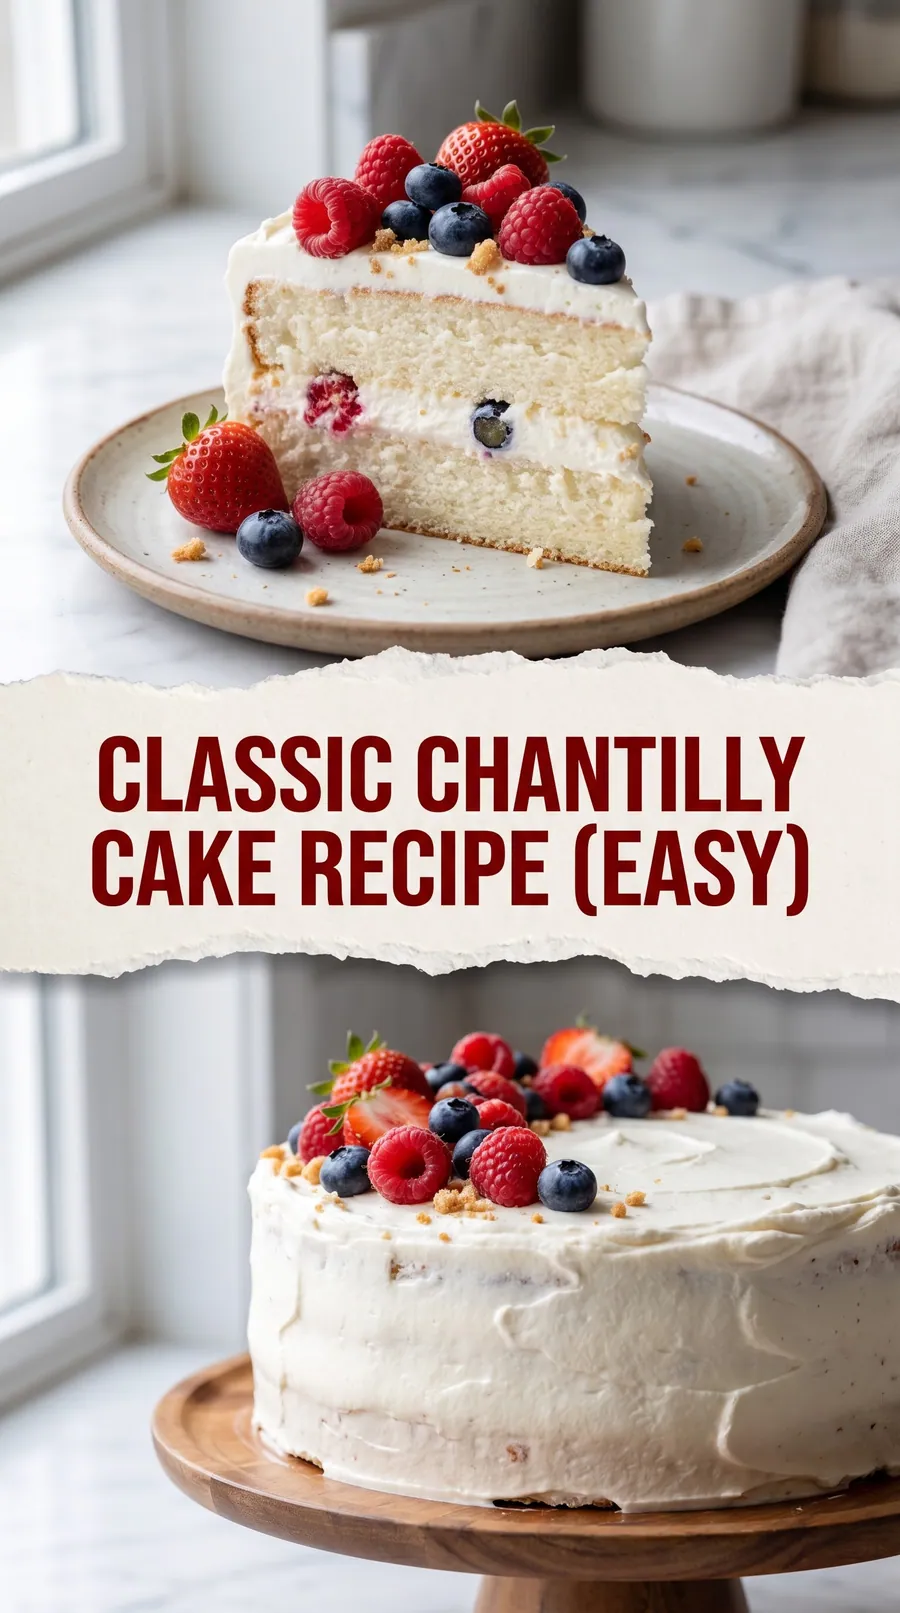
If you have ever tasted a Chantilly cake, you already know the magic. This is not a dense, sugar-bomb dessert. It is something far more elegant: tender, airy sponge cake hugging billowy clouds of lightly sweetened whipped cream, all crowned with a jewel-bright tumble of fresh strawberries, blueberries, and raspberries. Every single bite tastes like a celebration.
This recipe draws inspiration from the beloved Whole Foods Market Chantilly cake that people genuinely plan grocery trips around, but made entirely from scratch in your own kitchen. The cream is stabilized just enough to hold its swoops and swirls without ever feeling stiff or overly sweet. The berries bring a bright, jammy pop of tartness that perfectly balances every lush forkful.
 Save
SaveThis cake is perfect for birthdays, baby showers, Mother's Day brunches, or any occasion where you want to deliver pure, genuine delight. Even better, you can bake the layers the day before and assemble the morning of your event, which makes the whole process surprisingly stress-free.
Classic Chantilly Cake Recipe (Easy)
Ingredients
For the Vanilla Sponge Layers
For the Chantilly Cream Frosting
For the Berry Filling and Topping
Instructions
- Prep Your Pans and Oven
Preheat your oven to 350 degrees F. Grease three 8-inch round cake pans with softened butter, then line the bottoms with circles of parchment paper. Grease the parchment too, and dust all three pans lightly with flour, tapping out any excess. This triple prep makes for effortless release every time.
- Whisk the Dry Ingredients
In a medium bowl, whisk together the all-purpose flour, baking powder, and salt until evenly combined. Set this bowl aside. Taking a moment to whisk the dry ingredients separately ensures your baking powder is evenly distributed, which means a level, even rise in the oven.
- Cream the Butter and Sugar
In the bowl of a stand mixer fitted with the paddle attachment (or use a large bowl with a hand mixer), beat the room-temperature butter on medium-high speed for about 2 minutes until it looks pale and fluffy. Add the granulated sugar and continue beating for another 3 to 4 full minutes. You want the mixture to look almost white and noticeably light in texture. Do not rush this step; it is what gives the cake its tender, airy crumb.
- Add the Eggs and Vanilla
Add the eggs one at a time, beating for about 30 seconds after each addition and scraping down the sides of the bowl as needed. Mix in the vanilla extract. The batter may look slightly curdled at this point, which is completely normal. It will come together beautifully once you add the flour.
- Alternate the Flour and Buttermilk
With the mixer on low speed, add the flour mixture and buttermilk in alternating additions, starting and ending with the flour: flour, buttermilk, flour, buttermilk, flour. Mix only until just combined after the last addition. Overmixing at this stage develops gluten, which makes the cake tough instead of tender. A few streaks of flour are better than an overworked batter.
- Bake the Layers
Divide the batter evenly among the three prepared pans. Tap each pan gently on the counter once or twice to release any large air bubbles. Bake at 350 F for 26 to 30 minutes, until a toothpick inserted in the center comes out clean and the tops spring back lightly when touched. The edges will just be pulling away from the sides of the pans. Let the layers cool in the pans for 10 minutes, then run a butter knife around the edges and turn them out onto a wire rack to cool completely.
- Make the Chantilly Cream
Make sure your mixing bowl and the heavy cream are both very cold — pop them in the freezer for 10 minutes if needed. Add the cold mascarpone, sifted powdered sugar, vanilla extract, and almond extract to the chilled bowl. Whip on medium speed until the mascarpone loosens and everything is smooth, about 1 minute. Then pour in the heavy cream and increase to medium-high, whipping until you have stiff, glossy peaks. The mascarpone is what makes this frosting stable and scoopable. Watch it closely near the end so you do not overwhip.
- Prepare the Berries
Rinse all the berries gently and pat them fully dry with paper towels. Wet berries will make your frosting weep and slip, so take a few extra minutes here. Slice the strawberries into thin pieces. Set aside about half of the most beautiful berries for the top of the cake, and reserve the rest for the filling between layers.
- Assemble the First Two Layers
Place the first completely cooled cake layer on your serving plate or cake board. Spread a generous cup of Chantilly cream over the top, leaving a half-inch border around the edge. Scatter a layer of sliced strawberries, blueberries, and raspberries across the cream, pressing them in gently. Add the second layer and repeat the same process with cream and berries. The berries will peek out beautifully from the sides when sliced.
- Top and Frost the Exterior
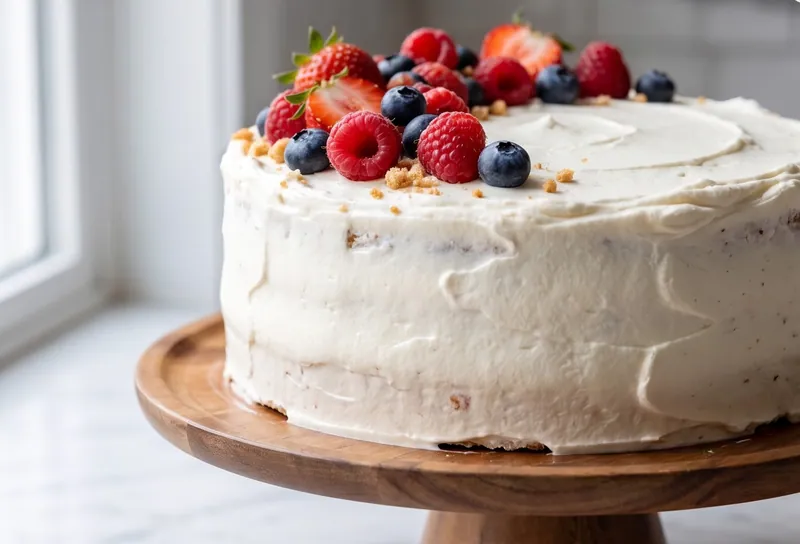
Place the final cake layer on top. Apply a generous crumb coat of Chantilly cream all over the outside of the cake, which seals in the crumbs. Refrigerate for 20 minutes to let the crumb coat firm up. Then apply a final, swooping layer of Chantilly cream over the top and sides. Use an offset spatula or the back of a large spoon to create soft, casual swirls and peaks. This cake is supposed to look lush and dreamy, not perfectly smooth.
- Pile on the Berries
Arrange the reserved berries across the top of the cake in a generous, slightly cascading pile. There is no wrong way to do this. Cluster them in the center, spill them toward the edges, and tuck a few raspberries into any gaps. The more abundant and relaxed the arrangement looks, the more stunning the final result. The jewel-toned colors against that ivory cream are genuinely breathtaking.
- Chill Before Serving
Refrigerate the finished cake for at least 30 minutes before slicing. This resting time lets the Chantilly cream firm up beautifully and makes for far cleaner slices. When you are ready to cut, use a sharp knife dipped in hot water and wiped dry between each cut. Serve cold and watch faces absolutely light up.
Substitutions and variations
- No mascarpone? Use 8 oz of cold full-fat cream cheese for a slightly tangier, equally stable frosting.
- No buttermilk? Mix 1 cup whole milk with 1 tablespoon white vinegar. Let it sit for 5 minutes and you have a perfect substitute.
- Lemon variation: Add 2 tablespoons of fresh lemon zest to the batter and 1 teaspoon of lemon extract to the frosting for a bright, summery twist.
- Fruit flexibility: Blackberries, sliced peaches, or a mix of whatever is peak-season at your market works beautifully here.
- Gluten-free: Swap in a 1:1 gluten-free baking flour blend (like King Arthur Measure for Measure) cup for cup.
- Sheet cake version: Bake in a 9x13 pan at 350 F for 32 to 36 minutes, then frost directly in the pan for an easy party-style dessert.
Chloe's tips
- Assembled cake: Cover loosely with plastic wrap or store in a cake dome and refrigerate for up to 3 days. The cream and berries stay fresh and the cake stays moist.
- Cake layers (unfrosted): Wrap individually in plastic wrap and store at room temperature for up to 2 days, or freeze for up to 2 months. Thaw overnight in the refrigerator before assembling.
- Leftover frosting: Store in an airtight container in the refrigerator for up to 3 days. Give it a gentle re-whip before using it again.
- Do not freeze the assembled cake: Freezing a finished Chantilly cake ruins the cream texture and makes the berries weep when thawed. Always freeze naked layers only.
- Serving from cold: Remove the cake from the fridge about 15 minutes before slicing. Cold butter in the cake firms up quite a bit, and a brief rest at room temperature brings the crumb back to its ideal soft, tender texture.
Serving suggestions
A Chantilly cake is a star all by itself, but the right accompaniments take the whole experience to another level. Whether you are serving it at a formal dinner party or a casual backyard birthday, a few thoughtful details make every slice feel extra special.
- Serve with a small spoonful of extra fresh berries alongside each slice for a gorgeous and generous presentation.
- A drizzle of warm strawberry or raspberry coulis (just pureed berries strained through a fine mesh sieve) pools beautifully around the base of each slice.
- A light dusting of powdered sugar right before serving adds a classic, elegant finish.
- Pair with a glass of sparkling rosé, a mimosa, or a cold brew coffee for a brunch dessert spread that people will remember.
- Fresh mint leaves tucked between the berries on top add a vibrant green pop of color and a lovely herbal note to the aroma of the cake.
Frequently asked questions
What exactly is Chantilly cream, and how is it different from regular whipped cream?
Classic Chantilly cream is simply whipped heavy cream sweetened with a little sugar and flavored with vanilla. The version used in this cake adds mascarpone cheese, which acts as a stabilizer and gives the frosting a slightly richer, creamier body that holds its shape for hours instead of weeping or deflating like plain whipped cream tends to do.
Can I make this cake the night before an event?
Absolutely, and it is actually a great strategy. Bake and cool your cake layers the night before, wrap them tightly, and refrigerate. Make the Chantilly cream and assemble the cake the morning of your event, then refrigerate until about 15 minutes before serving. Adding the berry topping right before serving gives you the freshest looking result.
My whipped cream always seems to deflate after a few hours. How do I prevent this?
The mascarpone in this recipe is your best defense against weeping and deflating. Beyond that, make sure your cream is genuinely cold, your bowl and beaters are cold, and that you whip all the way to stiff peaks rather than stopping at soft peaks. Also, avoid over-handling the frosted cake at room temperature for extended periods, as heat is what breaks whipped cream down fastest.
Can I use frozen berries instead of fresh?
For the berry filling between the layers, you can use frozen berries that have been completely thawed and patted very dry with paper towels. However, for the topping, fresh berries are strongly recommended. Thawed frozen berries look soft and release too much juice, which can quickly discolor and destabilize your beautiful Chantilly cream frosting.
Where does mascarpone come from and where can I find it?
Mascarpone is an Italian cream cheese with a very high fat content and a mild, buttery flavor. It has become widely available in American grocery stores and you can typically find it in the specialty cheese section, often near the deli or brie cheeses. Most major supermarkets carry it, including Whole Foods, Trader Joe's, Kroger, and Publix. It usually comes in 8-ounce containers, which is exactly how much this recipe calls for.
Let's get cooking!
There is something genuinely magical about pulling a Chantilly cake out of the refrigerator, slicing through those cloud-soft layers, and watching the berries and cream tumble out onto the plate. It is the kind of dessert that makes people stop mid-conversation and say "wait, you made this?" The steps are simple, the ingredients are approachable, and the result is one of the most breathtaking cakes you will ever put on a table. Whether this is your first layer cake or your fiftieth, you are going to love every single bite of this one. Now go preheat that oven. Someone out there is already counting on you to show up with this cake.