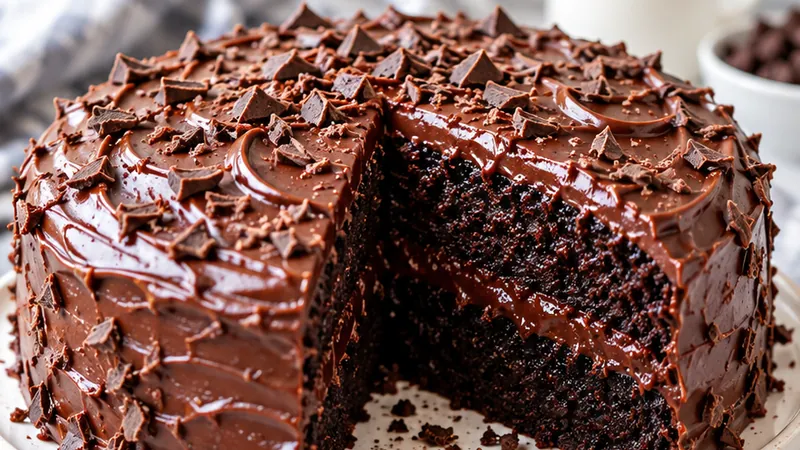
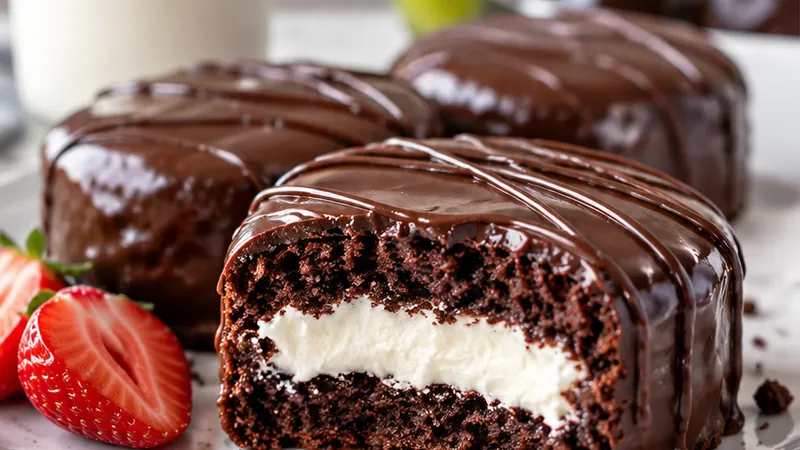
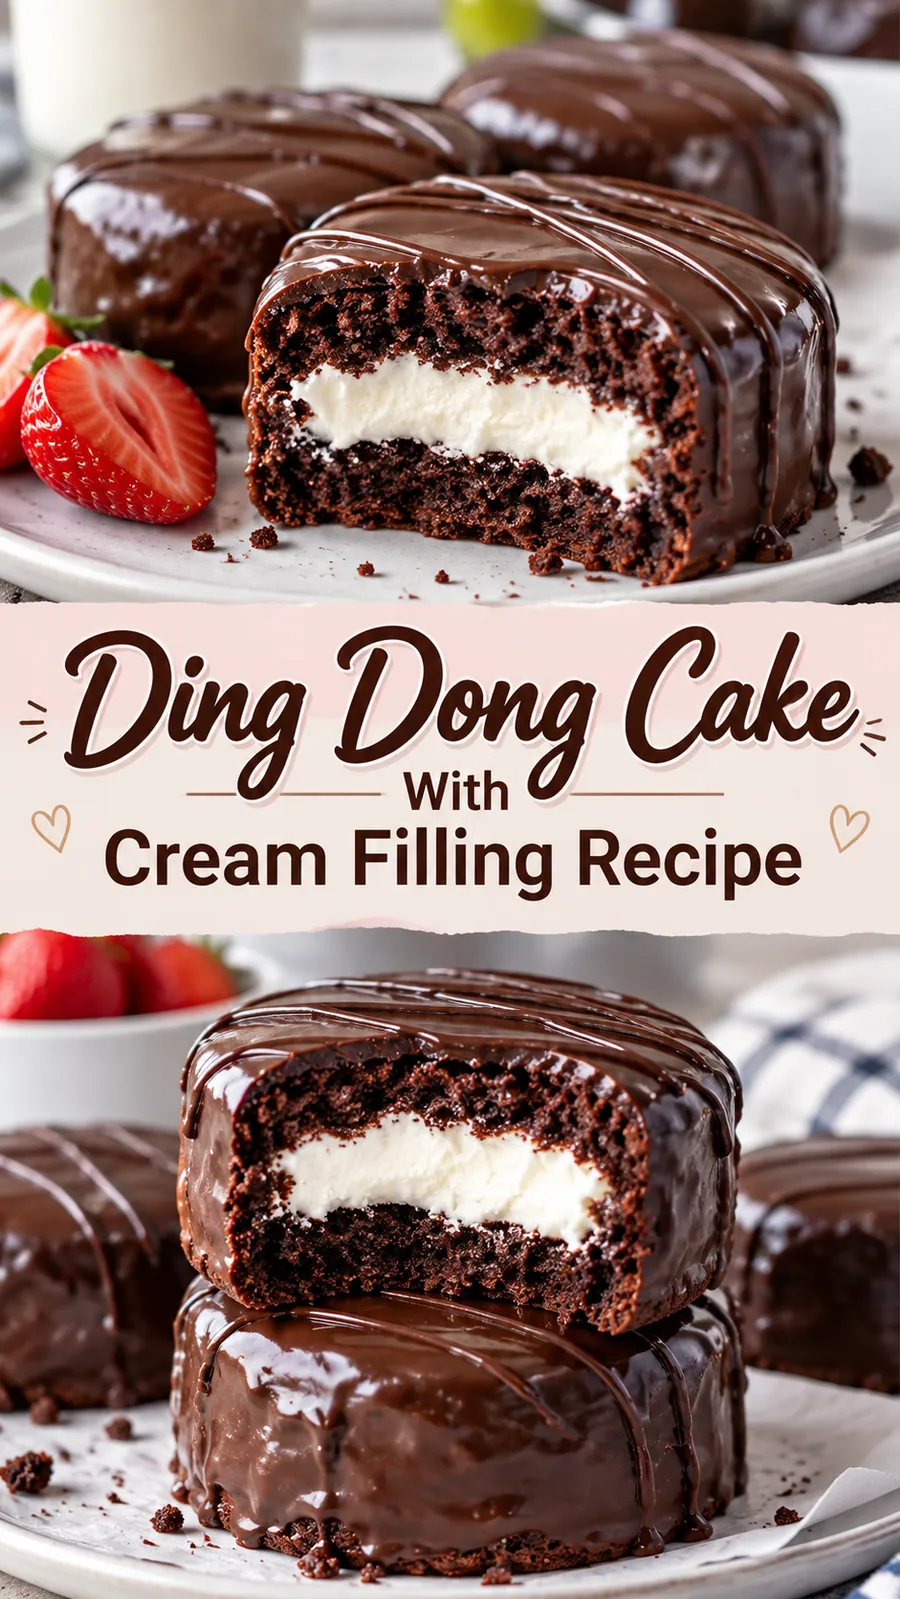
From the first whiff of cocoa in the kitchen, this Ding Dong cake feels like a nostalgic hug in dessert form, with tender layers and a lush vanilla bean cream center that melts into your fork.
I love baking this on a quiet weekend when I want something playful and decadent without going to the store, perfect for movie nights or surprising the kids after school.
 Save
SaveThe first time I served it at a family gathering, people could not believe it was homemade, and I knew I had found a new favorite to keep in my regular rotation.
Ding Dong Cake With Cream Filling Recipe
Ingredients
Chocolate cake layers
Vanilla bean cream filling
Chocolate frosting
Instructions
- Preheat and prepare pans
Preheat your oven to 350 degrees Fahrenheit and grease two 9 inch round cake pans, then line the bottoms with parchment paper and lightly flour the sides to prevent sticking.
- Whisk dry ingredients
In a large bowl, whisk together the flour, sugar, cocoa powder, baking powder, baking soda, and salt until evenly combined.
- Combine wet ingredients
In a separate bowl, beat the eggs, then add the milk, vegetable oil, vanilla, and coffee or water, mixing until smooth and slightly frothy.
- Mix batter until smooth
Pour the wet ingredients into the dry ingredients and stir gently until just combined; the batter will be thin, which is perfect for an even rise.
- Bake the layers
Divide the batter evenly between the prepared pans, smooth the tops with a spatula, and bake for 30 to 35 minutes, or until a toothpick inserted in the center comes out clean.
- Cool the cake layers
Let the cakes cool in the pans for 10 minutes, then run a knife around the edges and invert onto a wire rack to cool completely before filling.
- Make the cream filling
Beat the softened cream cheese, sugar, and salt in a bowl until smooth, then gradually whisk in the heavy cream, vanilla, and lemon zest until light and spreadable.
- Whip the chocolate frosting
Melt the chocolate chips and butter gently in the microwave or double boiler, then whisk in the cocoa powder, powdered sugar, cream, vanilla, and salt until silky and smooth.
- Assemble the cake
Place one cake layer on a serving plate, spread a generous layer of cream filling over the top, add the second layer, and chill briefly so the filling sets.
- Coat with frosting
Spread a thick layer of chocolate frosting over the top and sides of the assembled cake, using an offset spatula for an even finish, and smooth the edges for a polished look.
- Chill and slice
Refrigerate the cake for at least 30 minutes to help it hold its shape, then slice into neat portions and serve.
Substitutions and variations
- Use all-purpose flour for a gluten free version, but expect a more delicate crumb compared to the classic texture.
- Swap heavy whipping cream for whole milk in the filling to lighten the richness if you prefer a less dense feel.
- Replace coffee with hot water in the batter if you want a milder chocolate flavor without the bitter edge.
- Use a standard kitchen mixer instead of a stand mixer for the frosting, just work in batches to avoid splatter.
Chloe's tips
- For extra flavor, add a pinch of espresso powder to the batter and frosting to deepen the chocolate notes.
- Let the cake chill thoroughly before slicing so the filling stays lush and the edges stay clean.
- If you want a more pronounced vanilla aroma, scrape the seeds from one bean and mix them directly into the cream filling.
How to store it
- Store the cake in an airtight container in the refrigerator for up to 4 days.
- Let it sit at room temperature for about 15 minutes before serving for a softer texture.
Serving suggestions
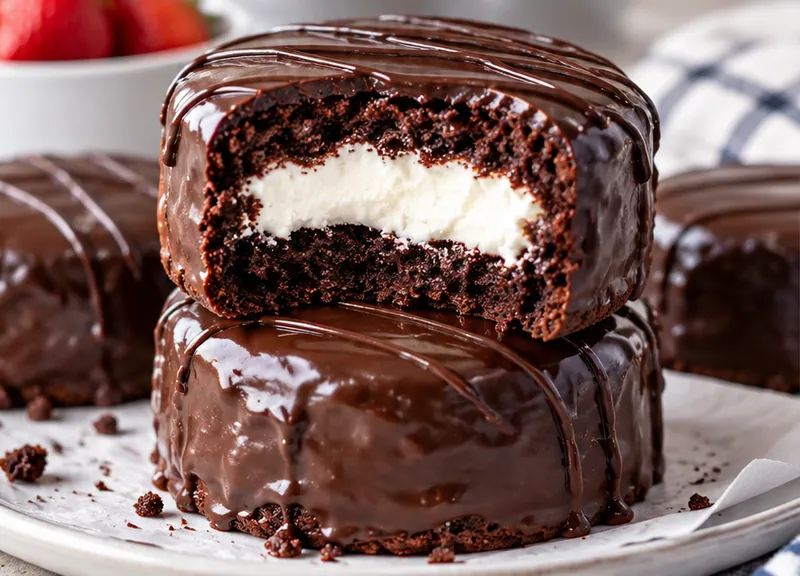
Serve this classic Ding Dong cake as a fun dessert that feels familiar yet special for any occasion.
- Place each slice on a colorful plate with a dusting of cocoa and a fresh berry on the side.
- Pair with a glass of cold milk or a scoop of vanilla ice cream for a truly indulgent treat.
Frequently asked questions
Can I make this cake a day ahead?
Yes, bake and assemble the cake a day in advance and store it in the fridge; the flavors will meld nicely and the texture will stay moist.
What if I don’t have cream cheese for the filling?
Use a mascarpone or a very thick Greek yogurt mixed with a bit of sugar and vanilla for a similarly rich yet lighter filling.
Can I freeze the cake for later?
Absolutely; wrap the unfrosted layers tightly and freeze for up to one month, then frost and chill when you are ready to serve.
Why use coffee in the batter?
Coffee enhances the chocolate flavor without making the cake taste like coffee, giving a deeper, more rounded sweetness.
Let's get cooking!
This homemade Ding Dong cake is a joyful way to bring a classic treat straight from the lunchbox into your kitchen, and I hope it becomes a signature dessert you reach for whenever you need a little comfort.