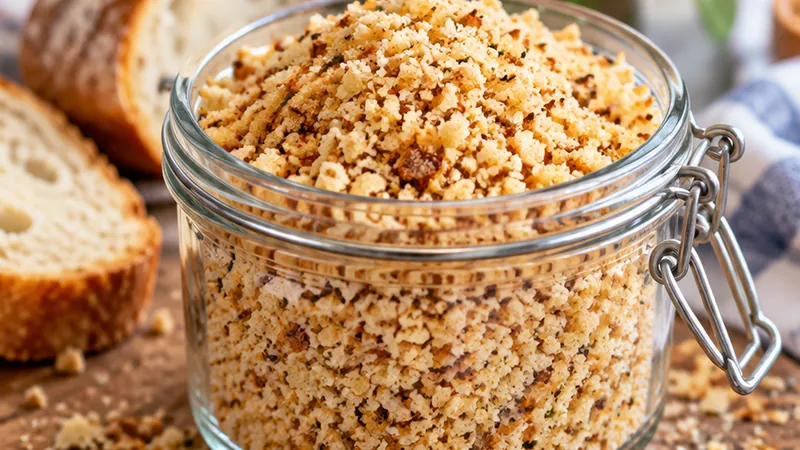
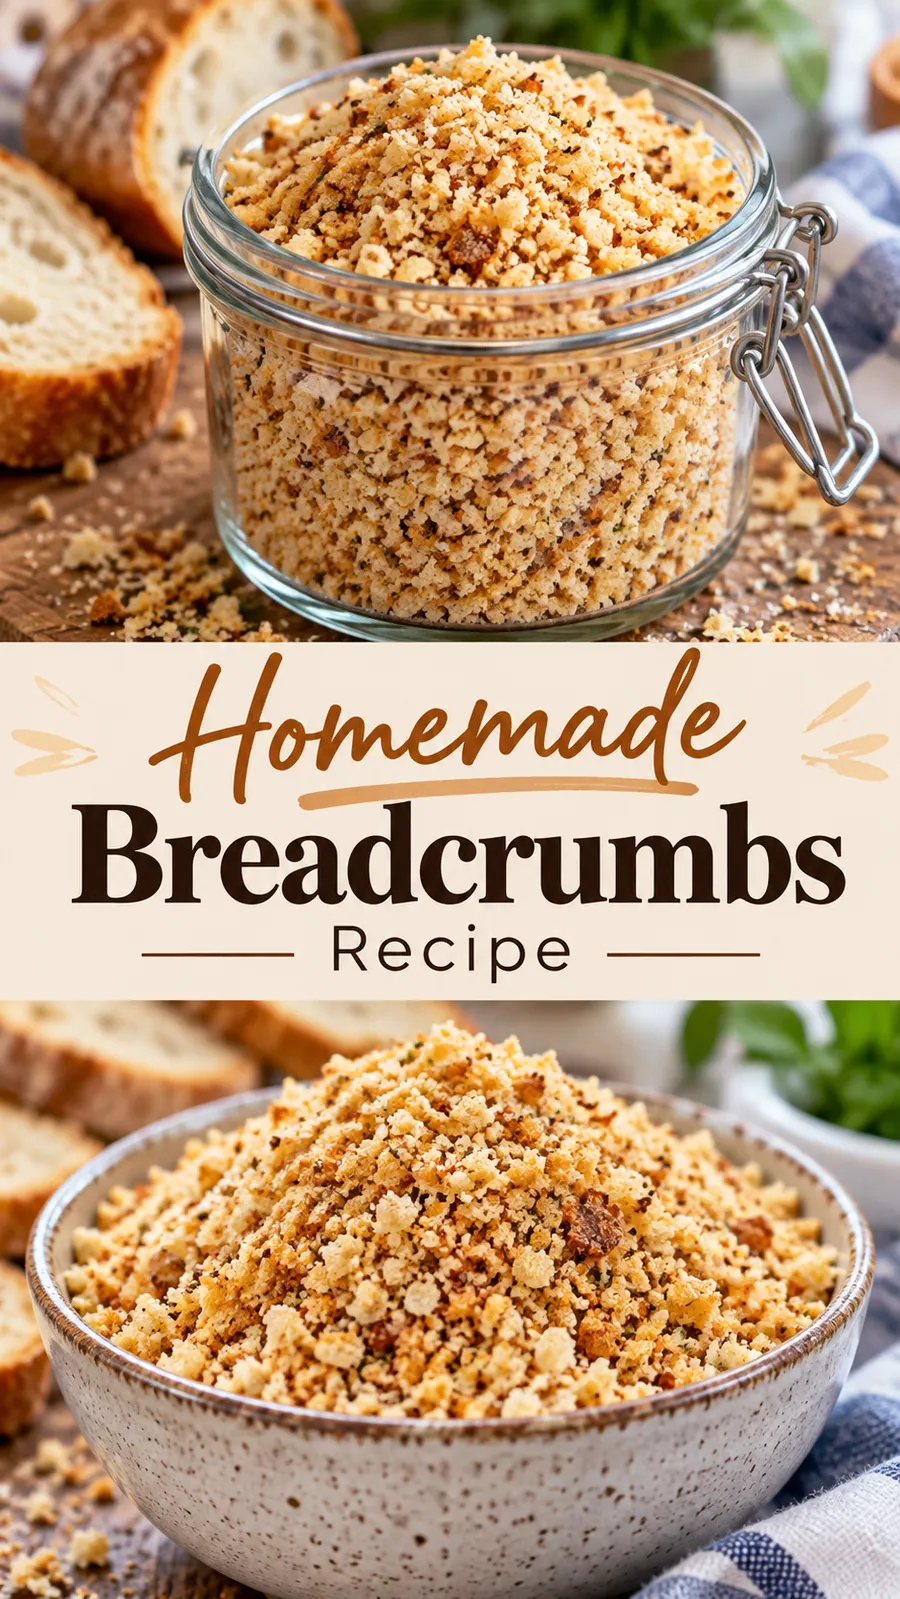
There is something so satisfying about turning yesterday’s loaf into a light, crisp pile of homemade breadcrumbs, the gentle toastiness of baked bread mingling with that fine, satisfying crunch.
Make this when you are clearing out the freezer or giving new life to a forgotten baguette, because it is the perfect zero waste way to add homemade touch to any dish without the shelf stable additives.
 Save
SaveI like to make a batch on Sunday, stash some in the fridge, and feel quietly brilliant every time I shake a handful over roasted chicken or veggie cutlets later in the week.
Homemade Breadcrumbs Recipe
Ingredients
Instructions
- Preheat oven and prep bread
Heat your oven to 300 degrees Fahrenheit, tear day old bread into rough chunks, and spread them in a single layer on a rimmed baking sheet.
- Lightly toast the bread
Slide the sheet into the oven and toast for 5 to 15 minutes, tossing halfway, until the edges are just starting to turn golden and the crumbs feel dry.
- Cool the toasted bread
Let the bread cool on the pan for at least 10 minutes, because warm bread can turn gummy when blended instead of staying light and crisp.
- Combine with seasonings and oil
Transfer the cooled bread to a blender or food processor, add the olive oil, salt, garlic powder, onion powder, and dried herb, then secure the lid.
- Pulse into crumbs
Pulse in short bursts, about one second on and one second off, scraping down the sides as needed, until you reach a fine, fluffy texture without turning it into paste.
- Check texture and adjust
For extra fine crumbs, sift through a fine mesh sieve and re pulse any larger pieces, adding a little more oil if the mixture looks too dry.
- Store or use immediately
Sprinkle breadcrumbs into an airtight jar or freezer bag, label with the date, and keep in a cool dry place or freezer for up to three months.
- Use in your favorite recipes
Toss chicken, fish, or vegetables in a shallow dish of these crumbs before pan frying or baking for a restaurant style crust every time.
Substitutions and variations
- Use gluten free bread for gluten free breadcrumbs, adjusting oven time as needed.
- Skip herbs for plain breadcrumbs and add them directly to your recipe.
- Replace olive oil with melted butter or avocado oil for a richer flavor.
- For finer crumbs, pulse in a food processor instead of using a blender.
Chloe's tips
- For extra flavor, toss the hot toasted bread with garlic infused olive oil before blending.
- Spread crumbs on a baking sheet and toast for 3 to 5 minutes after blending for restaurant level crispness.
- Freeze in flat portions on a tray first, then transfer to a bag so they stack neatly and thaw quickly.
- Keep a jar in the fridge if you plan to use them within a month for maximum freshness.
How to store it
- Room temperature in an airtight jar for up to one week.
- Freezer for up to three months in a heavy bag or container.
Serving suggestions
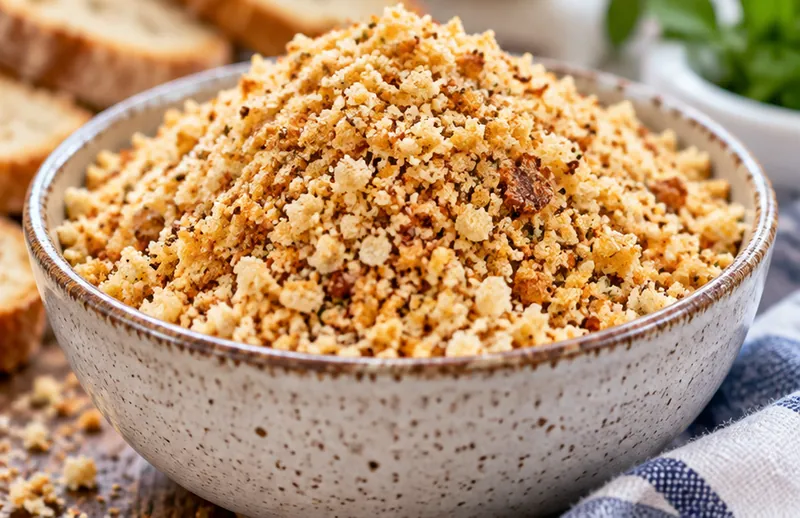
Sprinkle your homemade breadcrumbs over these simple, crowd pleasing dishes.
- Crispy oven baked chicken cutlets
- Stuffed pork chops or veal piccata
- Veggie burgers or baked eggplant steaks
- Topping for creamy casseroles and mac and cheese
Frequently asked questions
Can I make breadcrumbs without a blender or food processor?
Yes, place the bread in a sturdy zip top bag, seal it, and roll over it firmly with a rolling pin until finely crushed for rustic crumbs.
How do I know when the bread is properly toasted?
It should smell nutty and golden, and feel dry and crisp under your fingertips, with no soft or doughy spots.
Why freeze the breadcrumbs instead of keeping them at room temperature?
Freezing prevents any remaining moisture from making them stale or clumpy and keeps them fresh for months.
Will gluten free bread work for this recipe
Yes, use gluten free day old bread and pulse gently, as it can break apart more quickly than wheat bread.
Let's get cooking!
Homemade breadcrumbs are the kind of small kitchen win that quietly makes everything taste a little better, so keep a jar on your shelf and enjoy that fresh, crunchy finish whenever you need it.