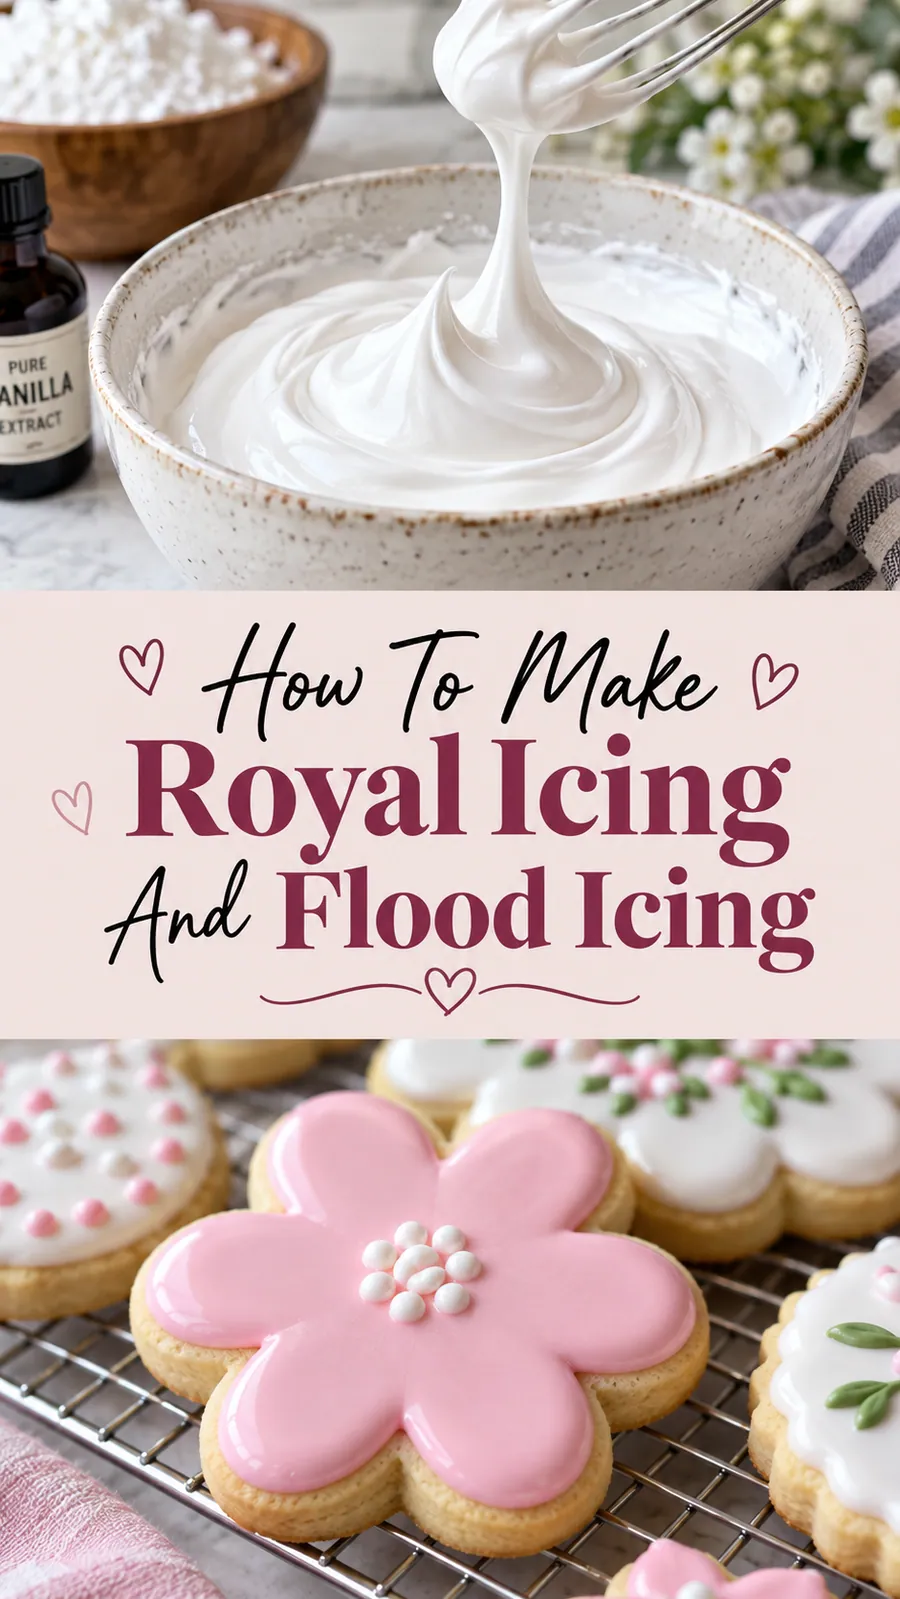
There is something so satisfying about piping a clean, steady line of royal icing around a cookie and then watching the flood icing glide in to create a flawless, glass like finish, the surface smooth, shiny, and ready for vibrant color.
You will want to use this technique any time you need beautifully decorated sugar cookies, from holiday gift tins to birthday parties and wedding favors that look store bought but are made at home.
 Save
SaveI first tried flood icing on a rainy afternoon and totally ruined my first batch by guessing at the consistency, but once I learned the exact measurements and timing, my cookies went from messy to magical.
How To Make Royal Icing And Flood Icing
Ingredients
Royal icing base
Consistency helpers
Instructions
- Whisk dry ingredients
In a large mixing bowl, whisk the sifted powdered sugar, meringue powder, cream of tartar, and salt together until completely combined with no streaks of dry powder.
- Add wet ingredients
Pour in the warm water and vanilla, then start whisking on low speed to keep from making a sugary mess, gradually increasing to medium speed as the mixture comes together.
- Whip until glossy and stiff
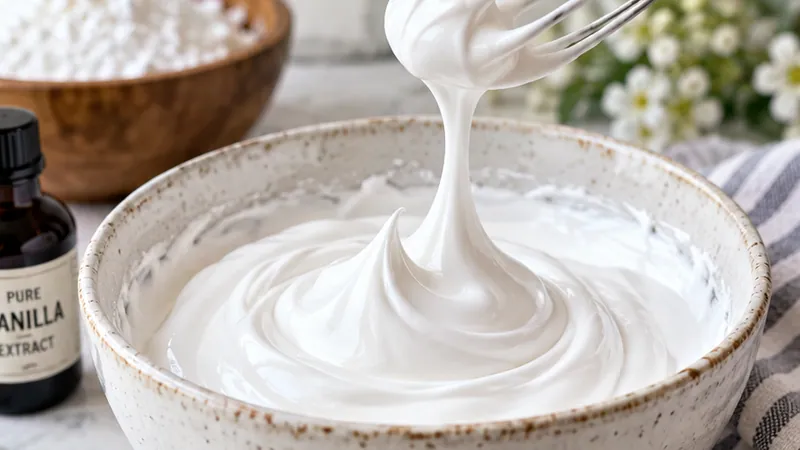
Beat for about 8 to 10 minutes until the icing turns matte, looks like it has a low sheen, and holds a peak that barely bends, then stop to avoid over beating which can make it grainy.
- Check and adjust consistency for outlining
For the outline icing, test by lifting the beater and seeing a firm peak that holds for a few seconds, or by running a spoon through the surface and watching it hold its shape without closing in.
- Thin to flood consistency
Add water a teaspoon at a time, mixing well after each addition, until the icing falls off the paddle in a ribbon that smooths back into the surface within about 10 to 15 seconds for ideal flood flow.
- Color in small batches
Divide the flood icing into small bowls and add gel food coloring a tiny bit at a time, mixing until the color is smooth and fully incorporated before adding more.
- Outline the cookies first
Fill a piping bag fitted with a small tip with the stiff outline icing, pipe around the edges of each cooled cookie, then gently shake the tray to even out the lines without breaking the outline.
- Flood the center
Spoon the thinned colored icing into the centers, or pour it carefully from a small measuring cup, then use a toothpick to nudge the icing into every corner and pop any bubbles for a perfectly smooth top.
- Let the icing set fully
Allow the flooded cookies to sit at room temperature until the surface is no longer sticky and can be touched lightly without denting, which can take from 1 to 24 hours depending on humidity and thickness.
- Decorate and store
Once set, add details with piping bags of stiff icing, sprinkles, or candies, then store the finished cookies in an airtight container at room temperature for up to one week.
Substitutions and variations
- You can use pasteurized liquid egg whites instead of meringue powder, using 3 tablespoons pasteurized egg whites per 4 cups powdered sugar and adding a pinch of cream of tartar.
- For a vegan version, choose a powdered sugar certified vegan and use aquafaba instead of meringue powder, starting with 2 tablespoons aquafaba per 4 cups sugar and adjusting as needed.
- If you do not have gel food coloring, use liquid food coloring but add it gradually because it adds extra moisture.
- To make scented icing, swap vanilla for almond, lemon, or peppermint extract to match your cookies.
Chloe's tips
- Measure meringue powder and powdered sugar accurately for reliable stiffness, especially in humid weather.
- Do not skip resting the cookies after outlining; it keeps the flood icing from seeping under the edges.
- If icing looks too thick mid project, add a few drops of water and mix well to bring back the proper flow.
- Use a kitchen scale for best results when you scale recipes up or down.
How to store it
- Keep fully decorated cookies in a single layer in an airtight container at room temperature for up to 5 days.
- If stacking, place parchment or wax paper between layers or use a cookie box with a removable divider.
- Do not refrigerate unless your filling or toppings require it, because humidity can cause sugar bloom and a dull finish.
- For very long storage, freeze undecorated cookies before flooding and decorate after thawing.
Serving suggestions
Serve your cookies on a pretty platter or boxed them up as gifts, with optional drizzle or sanding sugar for extra sparkle.
- Place on a serving tray with parchment lining to prevent sticking
- Pair with milk, coffee, or tea for a cozy treat
- Add a label with the flavor and any allergen notes when gifting

Frequently asked questions
Why is my royal icing sticky hours after it dried?
High humidity or not enough meringue powder can keep the surface tacky; try finishing the cookies in a dehumidified room or gently warm them in a very low oven for a few minutes to set them fully.
Can I flood and outline in one step?
You can, but it is harder to control the edges; outlining first gives clean borders and helps the flood icing stay where you want it.
How much water should I add to my flood icing?
Add water gradually and test often; the ribbon should smooth back in about 10 to 15 seconds, and you should be able to pull a slow line across the surface without it closing immediately.
What if my flood icing sets too quickly in the bowl?
Set the bowl over a pot of warm water for a few seconds, then stir gently to bring it back to the right consistency without overheating.
Let's get cooking!
Now that you know how to make royal icing and flood it like a pro, you can confidently decorate cookies for any celebration, enjoying the smooth finish and vivid colors that make every bite feel extra special.