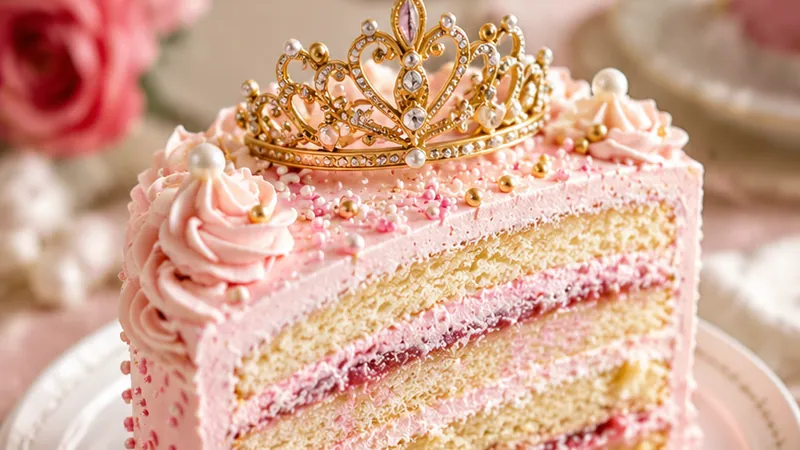
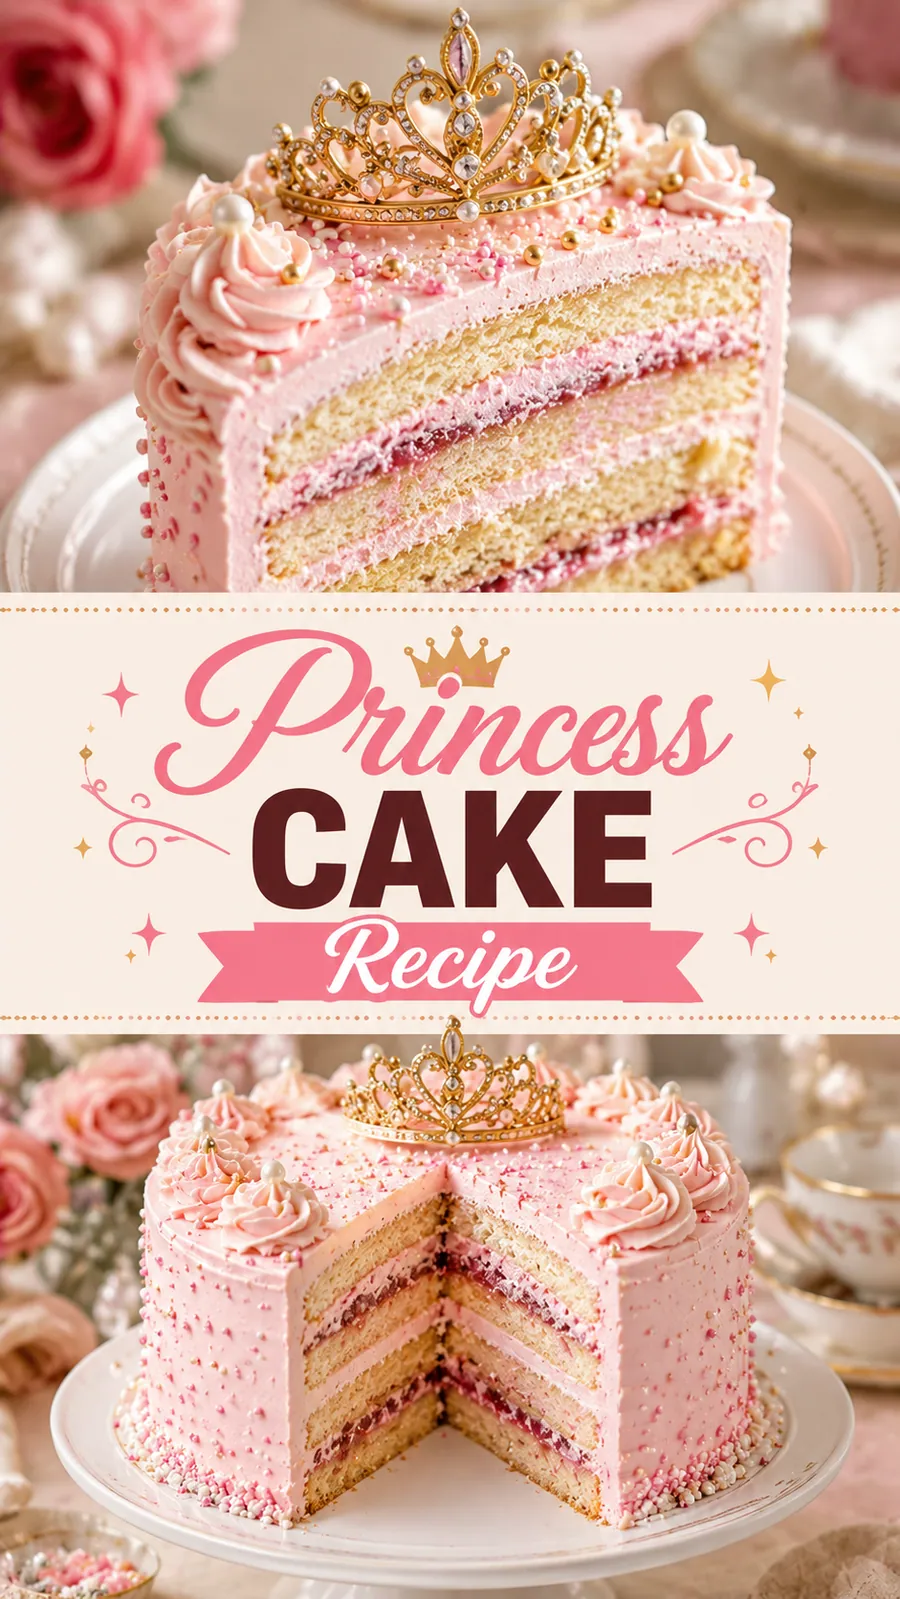
From the first whiff of vanilla and warm cake, this Princess Cake feels like a little celebration in your kitchen, with a tender sponge, silky custard, and clouds of whipped cream coming together in soft pastel layers.
It is perfect for birthdays, tea parties, or any Sunday when you want dessert to feel extra special, and it shines when you want to impress without fussy techniques.
 Save
SaveI remember my grandmother pulling this out for holiday gatherings, and the way everyone gathered around the table reminds me that desserts like this are really about sharing a moment of sweetness and joy.
Princess Cake Recipe
Ingredients
Sponge Cake
Vanilla Custard
Assembly
Instructions
- Preheat and prepare the pan
Preheat your oven to 350°F (175°C). Grease a 9 inch round springform pan, line the bottom with parchment paper, and grease the parchment to prevent sticking.
- Whip the cake batter
In a large bowl, beat the eggs, granulated sugar, vanilla, and almond extract with a hand mixer on high until thick, pale, and tripled in volume, about 5 to 7 minutes.
- Fold in dry ingredients
Whisk the flour, cornstarch, and salt together, then gently fold one third into the egg mixture to lighten before folding in the rest just until no streaks remain.
- Add butter and cream
Pour the melted cooled butter and heavy cream over the batter, then fold gently until smooth and combined.
- Bake the sponge
Pour the batter into the prepared pan, smooth the top, and bake for 18 to 22 minutes, until the cake is lightly golden and springs back when touched.
- Cool the cake
Let the sponge cool in the pan for 10 minutes, then run a knife around the edges and remove the sides of the pan to cool completely on a wire rack before trimming the top if needed.
- Make the vanilla custard
In a saucepan, whisk together sugar, egg yolks, flour, cornstarch, and salt. Gradually whisk in the milk, then stir in the vanilla. Cook over medium heat, whisking constantly, until thick and bubbling. Transfer to a heatproof bowl, press plastic wrap directly on the surface, and chill until cold.
- Whip the cream
Chill a mixing bowl and whisk. Whip the cold heavy cream with sugar and vanilla until stiff peaks form but the tips still curl slightly.
- Assemble the cake
Trim the sponge to fit your pan if needed, place it on a cake board, spread a layer of chilled vanilla custard over the top, then spread a generous layer of whipped cream. Repeat layers until ingredients are used, ending with a layer of whipped cream.
- Chill and garnish
Cover loosely and refrigerate for at least 3 hours, preferably overnight, to let flavors meld. Top with fresh berries and optional sliced almonds or pearl sugar just before serving.
Substitutions and variations
- For a gluten free version, use a gluten free all purpose flour blend and add 1/2 tsp xanthan gum if not included.
- For a dairy free sponge, swap melted butter for refined coconut oil and milk for oat milk.
- For the custard, replace whole milk with plant based milk and use a vegan egg yolk alternative or increase flour to 3 tbsp.
- If you do not have cornstarch, use an extra 1 tbsp all purpose flour in both cake and custard.
- For nut free, omit almond extract and use dairy free butter if needed.
Chloe's tips
- For extra stable whipped cream, add a tiny pinch of cream of tartar with the sugar.
- Chill your whisk and bowl beforehand to help the cream whip up faster and hold its shape.
- Press plastic wrap directly on the custard surface to prevent a skin from forming.
- Use a springform pan for easy release and a tall, even cake once assembled.
- Let the cake rest in the fridge for at least 3 hours, or until completely set, for best slices.
How to store it
- Store assembled Princess Cake in the refrigerator, covered, for up to 3 days.
- Keep components separately if you prefer to assemble closer to serving time.
- Let the cake sit at room temperature for 20 to 30 minutes before slicing for cleaner cuts.
Serving suggestions
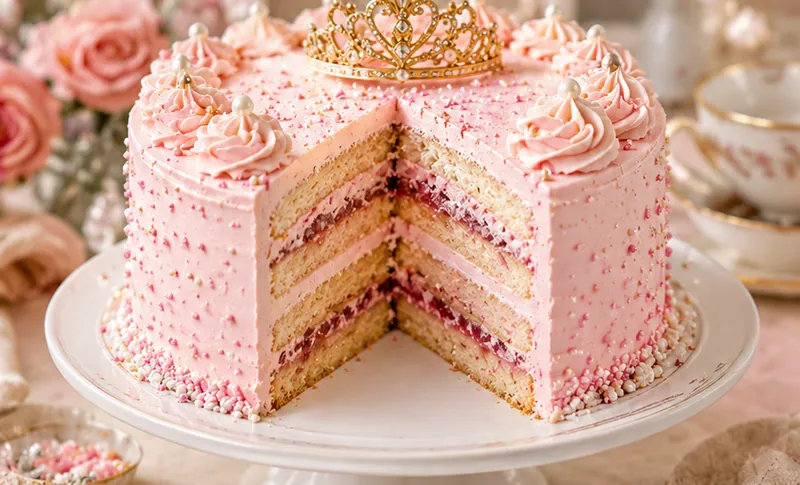
Serve this elegant cake on a pretty platter with simple fresh berries and a dusting of powdered sugar.
- Slice with a warm knife for clean portions
- Pair with a lightly sweetened sparkling wine or strong coffee
- Garnish just before serving to keep the whipped cream perky
Frequently asked questions
Can I make the cake layers ahead of time?
Yes, bake and cool the sponge cake fully, wrap tightly in plastic wrap, and store at room temperature for up to 1 day or freeze for up to 1 month. Fill and frost on the day you plan to serve.
Why did my whipped cream deflate?
Overwhipping, warm bowls or cream, or adding sugar too early can cause deflation. Chill your tools, whip slowly, and add sugar gradually once soft peaks form.
Can I use mascarpone instead of some of the whipped cream?
Absolutely, swap half of the whipped cream with mascarpone for a richer, smoother texture that holds its shape well.
How do I get clean straight edges when slicing?
Use a thin, sharp knife and wipe it clean with hot water between cuts, or chill the knife for extra neat slices.
Let's get cooking!
With a little patience and a lot of love, this Princess Cake becomes a centerpiece dessert that feels indulgent, elegant, and totally approachable for your next gathering.